Avista messages
Introduction
Section titled “Introduction”Go to Settings → Avista messages to access this feature. f
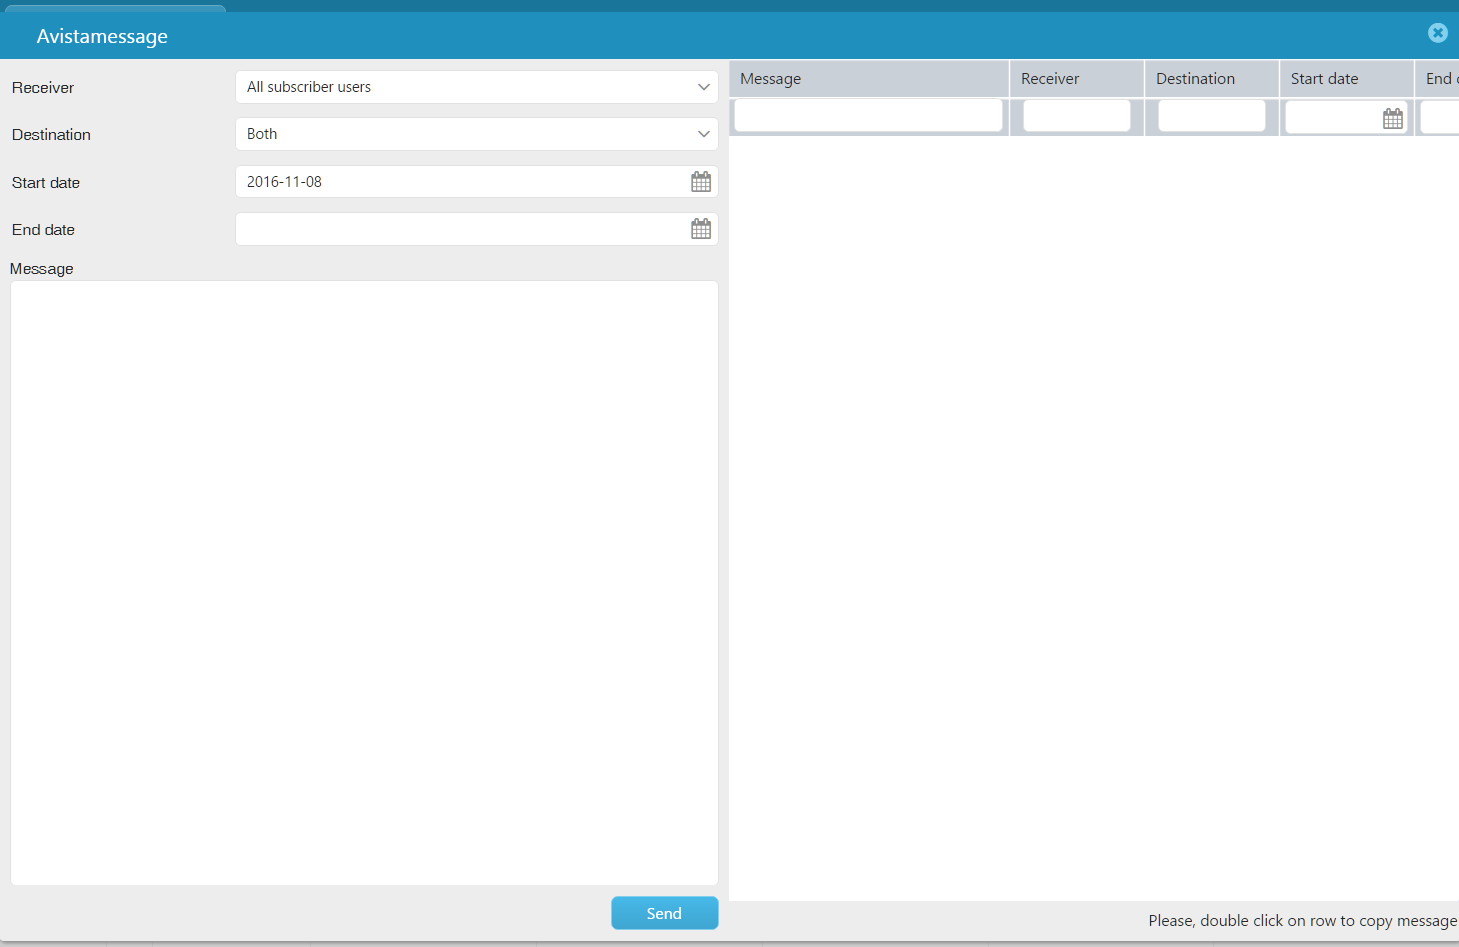
A window will open, looking something like this:
Choose recipient
Section titled “Choose recipient”You can choose to send your message to all users, or to a specific one.
Choose destination
Section titled “Choose destination”Choose if the message should be viewed in the web version, in your mobile app or both.
Choose start and end date
Section titled “Choose start and end date”Specify the time period for which the message should be visible for selected recipients.
Specify message
Section titled “Specify message”Write a new message or copy an already existing one.
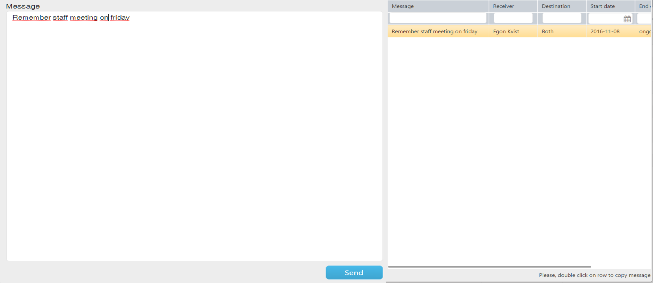
- Enter your message in the message field
- Or double click on an existing message in the list to the right. The message will be copied to the message field to your left, where you can edit it if wanted.
Send message
Section titled “Send message”Click on the button Send.
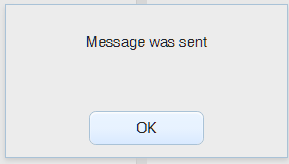
You will receive a confirmation specifying if your message has been sent or not.
Received messages
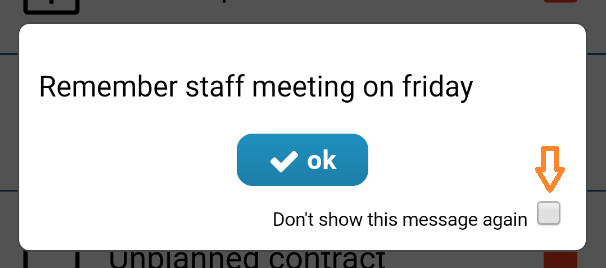
Section titled “Received messages”The message recipient will receive the message the next time they log into the service.
The recipient can then choose to not view the message again, by ticking the checkbox in the bottom right corner.