
Absence
Introduction
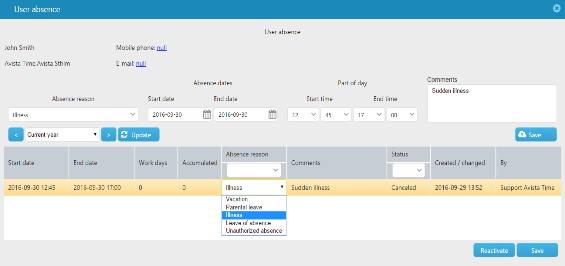
Section titled “Introduction”Go to User → All users in the top menu, to view a list of all of registered users/staff members. Select a user and click User absence
Register Absence
Section titled “Register Absence”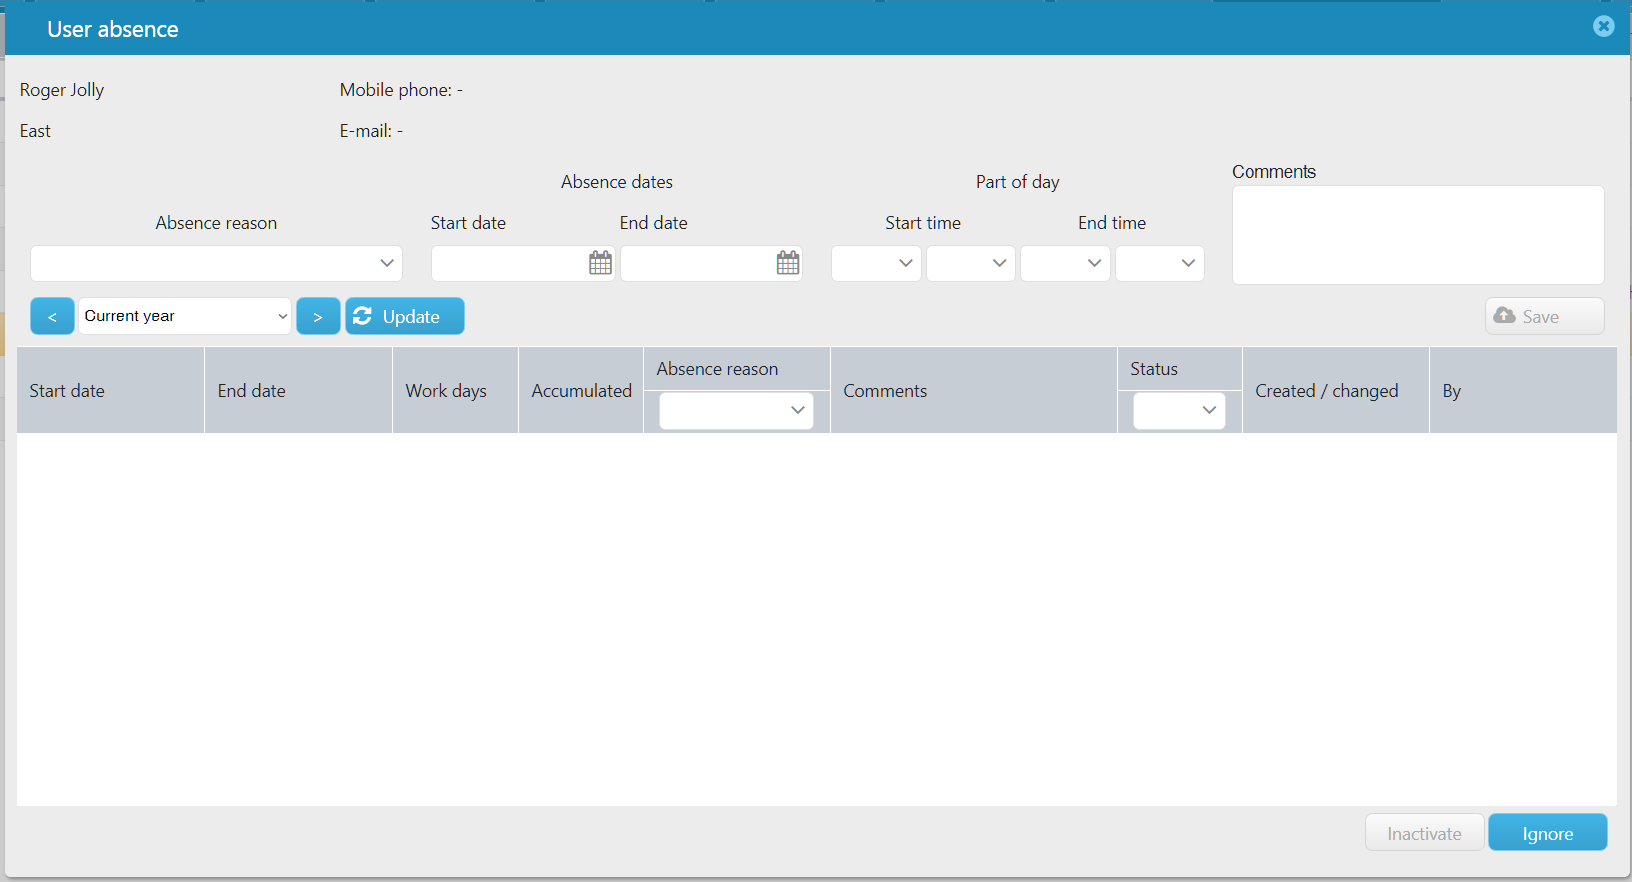
Specify absence reason
Section titled “Specify absence reason”The example above shows a list of absence reasons. These may differ between different subscribers, in naming and number.
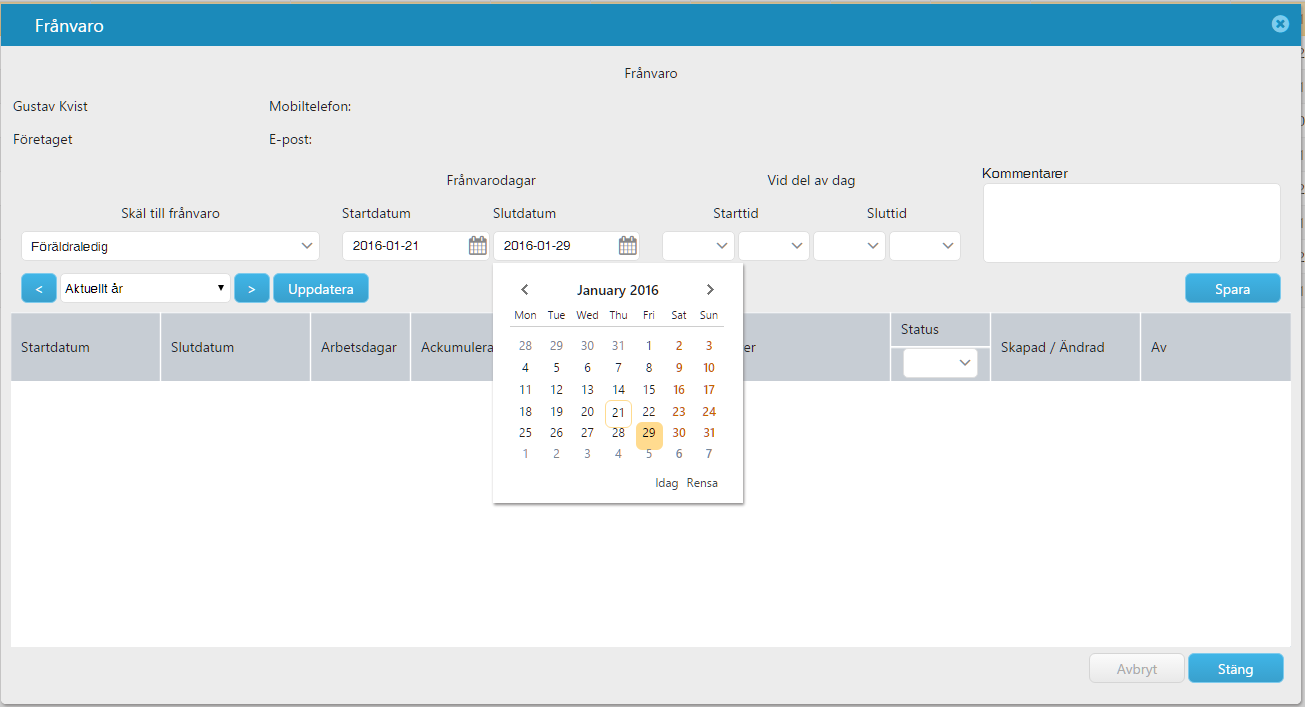
Using the calendar function, specify start and end dates for absence period. Specify start and end time if absence does not affect a whole day.
Click Save by the comment field.
The absence period will be compared to planned work hours, as to ensure the correct number of absence days. The absence is specified both for current period and as accumulated time.
Click Save in the lower right corner when you are done.
View absence
Section titled “View absence”You can view all registered absence, or for a specified time period.
Choose time period
Section titled “Choose time period”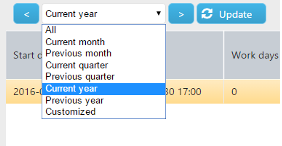
Specify time period if the preselected Current year is not adequate. Using the arrows you can move forward and backwards. Click Refresh to load absence from selected time period.
Filter
Section titled “Filter”If there are many registered absence periods, it can be useful to filter the list. You can filter the columns Absence reason and Status.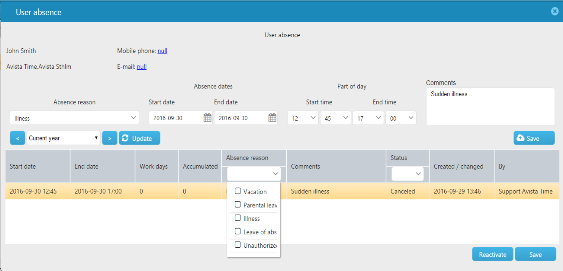
Edit absence
Section titled “Edit absence”You are able to edit Start date, End date, Absence reason and Status by clicking in the corresponding field.
Delete absence
Section titled “Delete absence”For now can you only inactivate absence, not delete it.
By clicking the button Cancel in the bottom panel you can cancel (inactivate) selected absence. If the selected absence is already marked as Canceled you can reactivate it by clicking Reactivate.
Click Save when you are done