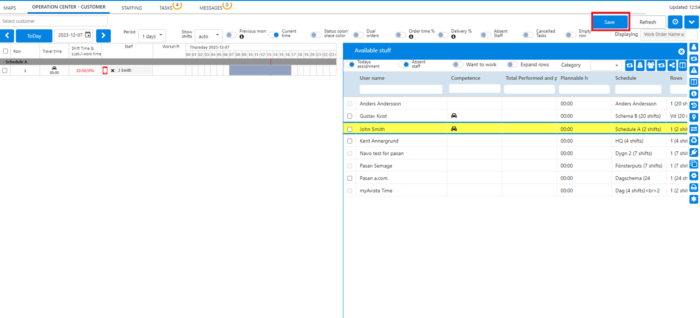
Add Schedule
dec 2023
Purpose
Section titled “Purpose”A schedule is used to connect orders and performers.
Add Schedule
Section titled “Add Schedule”Goto Planning -> Shift Schedule
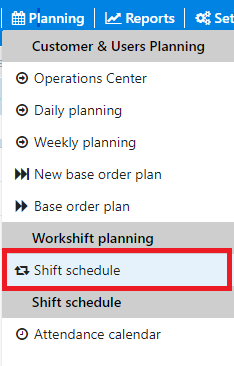
Add Schedule
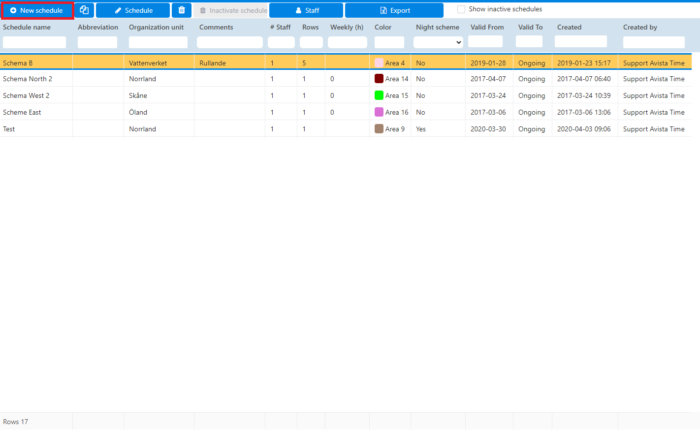
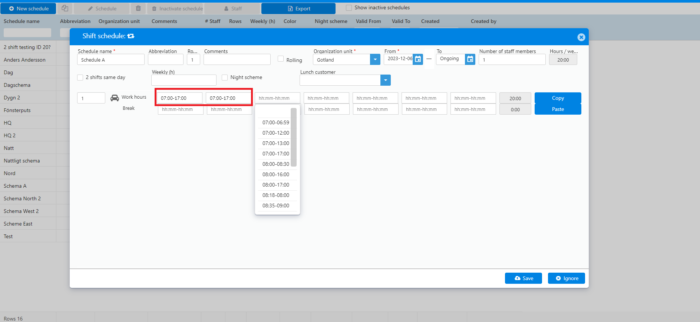
Section titled “Add Schedule”Click on button Add schedule to get this form
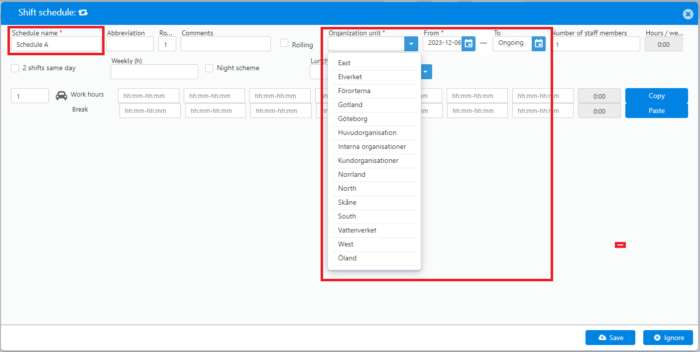
Fill in at least Mandatory fields
Section titled “Fill in at least Mandatory fields”- Schedule name: Name of schedule
- Organization: Organization schedule belongs to
- From: Start date (select a monday as start date)
- To:End date.
Organization
Section titled “Organization”The organization the performer/s belong to must be the same or higher in organization then the schedule belongs to.
The organization the customer/s belong to must be the same or lower in organization then the schedule belongs to
Working hours
Section titled “Working hours”You must have some working hours for each day you want the performer to be able to see and perform orders on the schedule row
The working hours for the performer do not need to be exactly the same as working hours on schedule row, but they need to be present.
Connect the performers to schedule rows
Section titled “Connect the performers to schedule rows”This can be done in two ways.
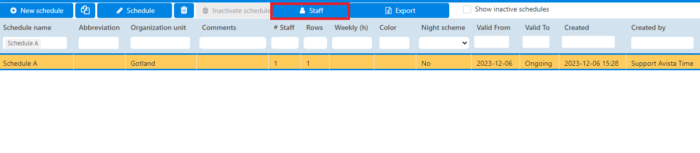
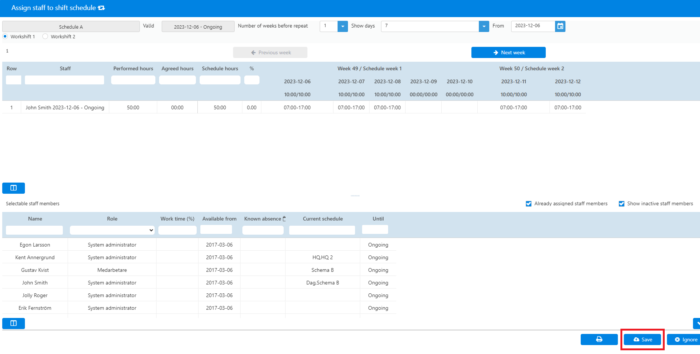
1 Mark schedule in schedule list and click on button Staff
Section titled “1 Mark schedule in schedule list and click on button Staff”This method is used when Daily Planning is used, and not Operations Center.
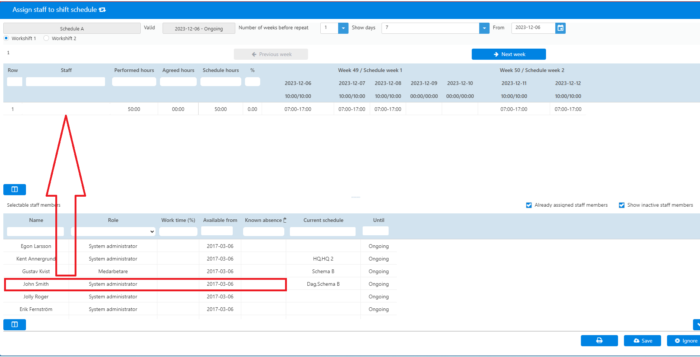
In this view you connect staff with schedule by dragging och dropping their names on scheddule row
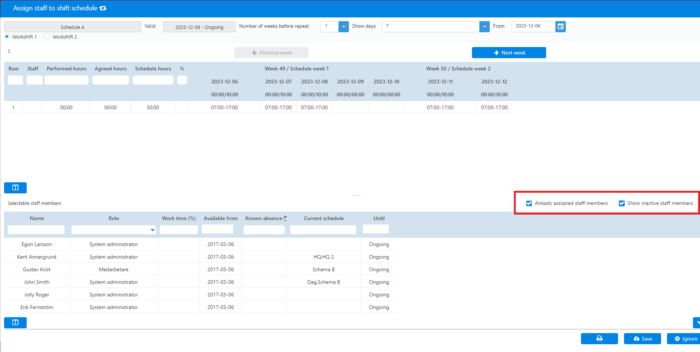
If sought staff not are visible in list, mark these check boxes
Change Start or End date if you need, or accept suggested alternative
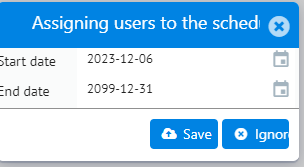
Click on Save when done.
2 Start Operations Center
Section titled “2 Start Operations Center”Goto Planning -> Operations Center
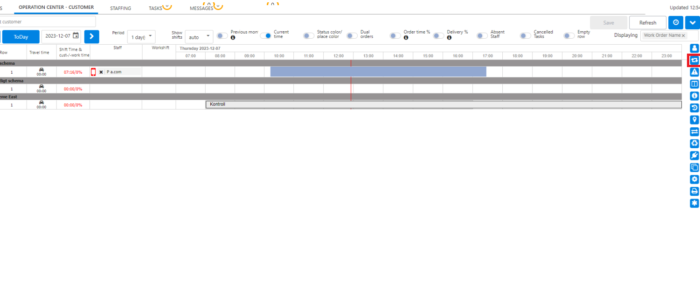
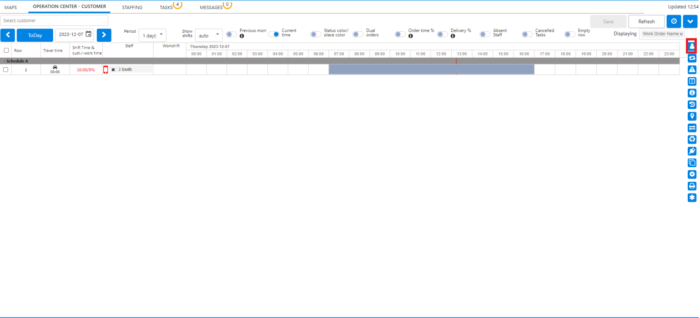
Click on marked button to select schedules shown is this view
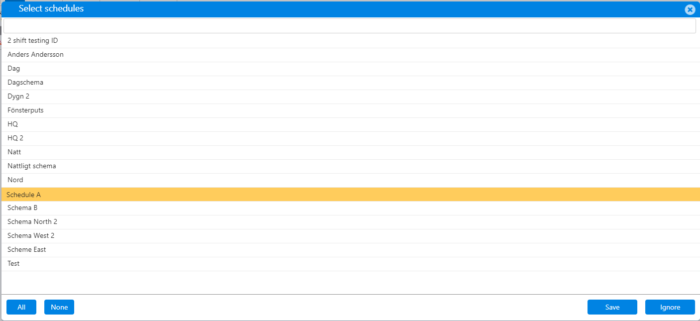
Select schedules of interest av Save
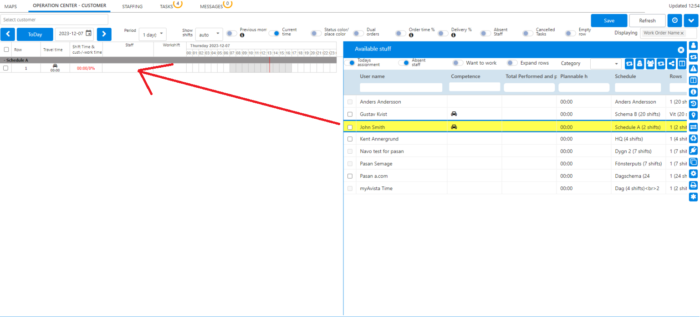
Drag and drop user to schedule row
Change dates and time if needed
Save
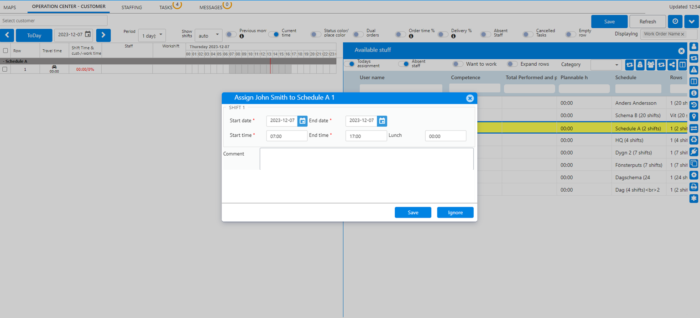
Click on Save button for whole Operations Center form